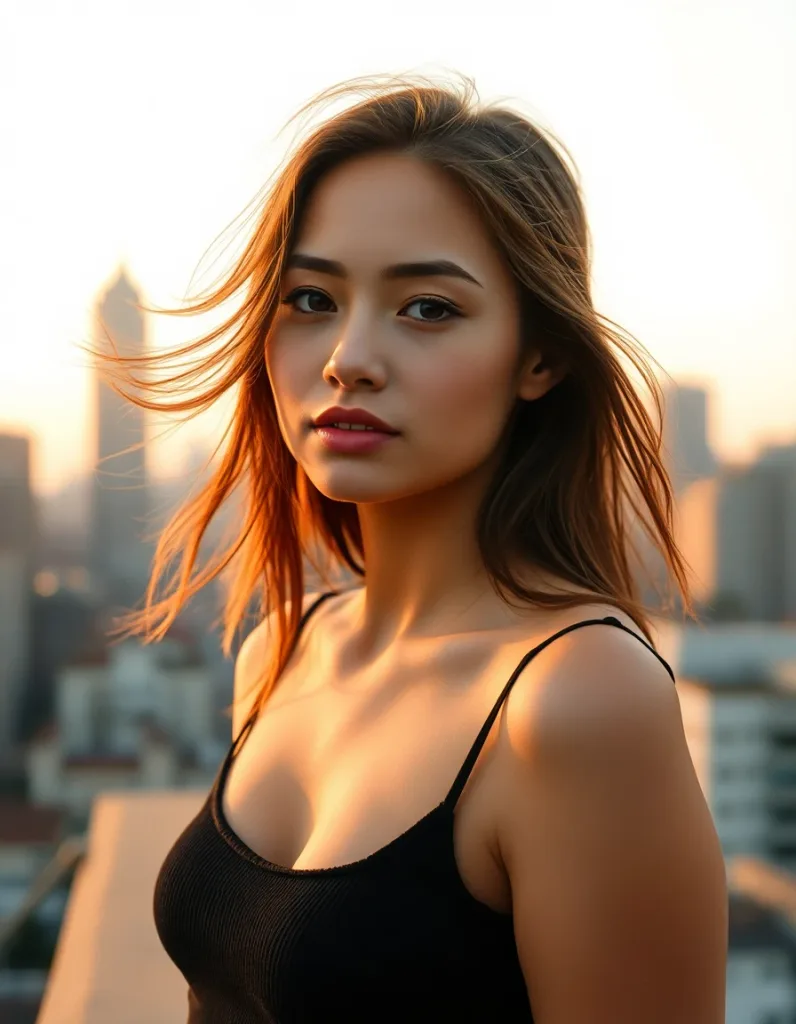
A realistic AI model video needs one thing above all: the same face from the first frame to the last. This tutorial shows the workflow on Lovino in five steps. You draft your model's look with GPT Image 2, save a Character from that description, then pick MiniMax H3 in the video composer and tell it to use that face.
You need a Lovino account, because signup is required to generate. GPT Image 2 at low quality works on the free plan. MiniMax H3 needs a Pro plan and paid credits.
The short version
| Step | Where | What you do |
|---|---|---|
| 1 | Image studio | Draft your model's look with GPT Image 2 |
| 2 | Characters | Use Describe your character to save the person as a Character |
| 3 | Video | Pick MiniMax H3, tap Face, choose the Character |
| 4 | Prompt | Describe camera, light and one simple action |
| 5 | Review | Watch the clip, then try another scene with the same Character |
Before you start: faces and permission
Only use faces you have permission to use. The best choice is a fictional person you invent yourself. Do not build a model from a celebrity, a public figure, or anyone who has not said yes. When you upload photos for a Character, Lovino asks you to confirm they are of you or of someone who gave permission, and misuse can lead to account suspension.
Uploaded photos are processed by third-party AI providers. If that matters for a face, use an invented model instead of a real photo.
Step 1: Draft your model's look with GPT Image 2
Open the image studio and pick GPT Image 2. Low quality costs 3 credits, which is one day of free credits. Medium costs 5 credits and high costs 7 credits, and both need a paid plan. Start on low to find the look, then move up once you like it.
Write for a clean reference, not for drama:
- One person, facing the camera or turned slightly, head and shoulders or waist up.
- Soft, even daylight. Hard shadows hide the face.
- A plain or softly blurred background.
- A relaxed expression, no sunglasses, no hat, nothing covering the face.
- Natural skin texture: ask for real skin, not a smooth glossy look.
A prompt to start from:
A fictional woman in her late twenties, head and shoulders, facing the camera, soft window daylight, plain warm-grey wall behind her, natural skin texture, relaxed expression, plain white t-shirt, shot on a 50mm lens.
Change the description until the face is one you want to keep, then keep that text for step 2. The picture itself is not uploaded, because the photo route in Characters is only for photos of you or of someone who said yes. More prompt ideas are in GPT Image 2 prompts.
Step 2: Save your model as a Character
A Character is a saved face you can reuse across Lovino. Open Characters in the dashboard and choose Describe your character. This is the route for an invented person. Paste the description you settled on in step 1 and let Lovino generate the face. Refine it until it is right, give the Character a name, and create it. Creating a Character costs credits, and the price is shown before you confirm.
Build your character does the same with guided steps. Start from your photos is only for photos of you, or of someone who gave you permission. The permission box there says so, and an invented person is neither. For more on why saving the face matters, read what character consistency means and how to create an AI influencer. The AI influencer page shows the feature in action.
Step 3: Open video and pick MiniMax H3
Go to the video composer and choose MiniMax H3 from the model list. It is marked Pro, so free accounts see a lock. Then:
- Tap the Face chip. It only appears on models that support a face reference.
- Pick your Character. Its avatar shows on the chip, and you can remove it with one tap.
- Choose vertical 9:16 for phones, a length of 5 seconds to start, and 768p.
MiniMax H3 accepts up to three face images. One Character is enough. Sound is not a setting on this model. Clips may carry light ambient sound, so add music or a voiceover in an editor if you want it.
Step 4: Write a prompt for realistic motion
Keep the prompt short and physical. Four parts do most of the work:
| Part | What to write | Example |
|---|---|---|
| Camera | How the shot is filmed | Smooth tracking shot at walking pace, cinematic 35mm look |
| Light | Where the light comes from | Colored neon glow reflecting in the puddles |
| Action | One simple thing the person does | Walks toward the camera, tilts the umbrella back, meets the lens |
| Skin and detail | What keeps it human | Natural skin under colored light, realistic raindrops |
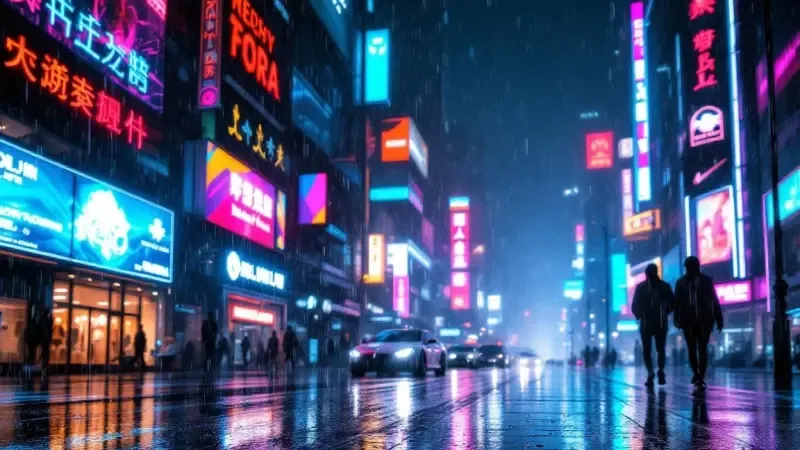
At night the person from your face reference walks toward the camera down a rain-slick city street, colored neon glow reflecting in the puddles, holding a clear umbrella; they slow, tilt the umbrella back and meet the lens with a calm, confident look. Smooth tracking shot at walking pace, cinematic 35mm look, realistic raindrops streaking through the light, natural skin under colored light, signs glowing but with no readable text.
Tips that help:
- One action per clip. A single smile or turn reads as real. Five actions in five seconds looks rushed.
- Start with 5 seconds. Longer clips are 10 and 15 seconds. Check the 5-second result first, then extend the idea.
- Ask for imperfection. Handheld sway and natural light look more real than a perfect studio move.
- Leave the face description out of the prompt. The Face chip carries who the person is. Write "the person from your face reference" and let the prompt say what they do.
- Keep names and logos out. Do not name celebrities or brands, and ask for signs with no readable text.
For more on video prompts, see the video prompt guide.
Step 5: Review, then try another scene
Watch the clip with the sound off and look at the face, the hands and any text in the frame. AI video can still show odd hands, warped text or small identity drift, and results vary between runs. If the face drifts, shorten the action or simplify the light and generate again.
When a clip works, keep the Character and change only the scene: a café window, a rooftop at golden hour, a night street. You save the Character once and reuse it for each scene.
Step 6: Or start from a Pro template
The templates library has three Pro templates built for this: Neon rain walk, Morning café sip and Rooftop golden hour. Each one uses MiniMax H3 at 768p, 5 seconds and 9:16, with the scene, camera and light already written. Open one and tap Use this template, which takes you to Create. Then tap the Face chip, pick your Character, and generate. At those settings a clip costs 10 credits. Change any setting and the estimate updates.
What it costs
Prices below are MiniMax H3 clips at 768p.
| Length | 768p |
|---|---|
| 5 seconds | 10 credits |
| 10 seconds | 20 credits |
| 15 seconds | 30 credits |
Another option: Seedance 2.5 for text-only realism
Seedance 2.5 is a good choice when you want a lifelike scene from a text prompt, with sound, and no specific person. It can generate room sound, music and speech, and sound is off by default. It does not accept a person's face as a reference image or a start photo, so it cannot keep your Character's face. A 5-second 720p clip with sound off costs 29 credits, and it needs a Pro plan. Use MiniMax H3 whenever the same face matters.
Use it responsibly
- Permission. Only use faces you have permission to use, and prefer a fictional model.
- Say it is AI. Label AI-made video where a platform asks you to. See AI content disclosure.
- Rights. You can use what you create commercially, free plan included. Files made on the free plan carry a watermark, and paid plans remove it.
- Realism has limits. Generate a short clip first and review it before you spend more credits.
Where to go next
Try the same Character in a different scene, or animate a still with image to video. You can also browse the AI video generator to compare models.