How to Make a Seamless Panorama Carousel on Instagram
A seamless panorama carousel swipes like one wide picture. Learn the width math, how to make the wide scene with AI, where to cut and what to keep off the seam.
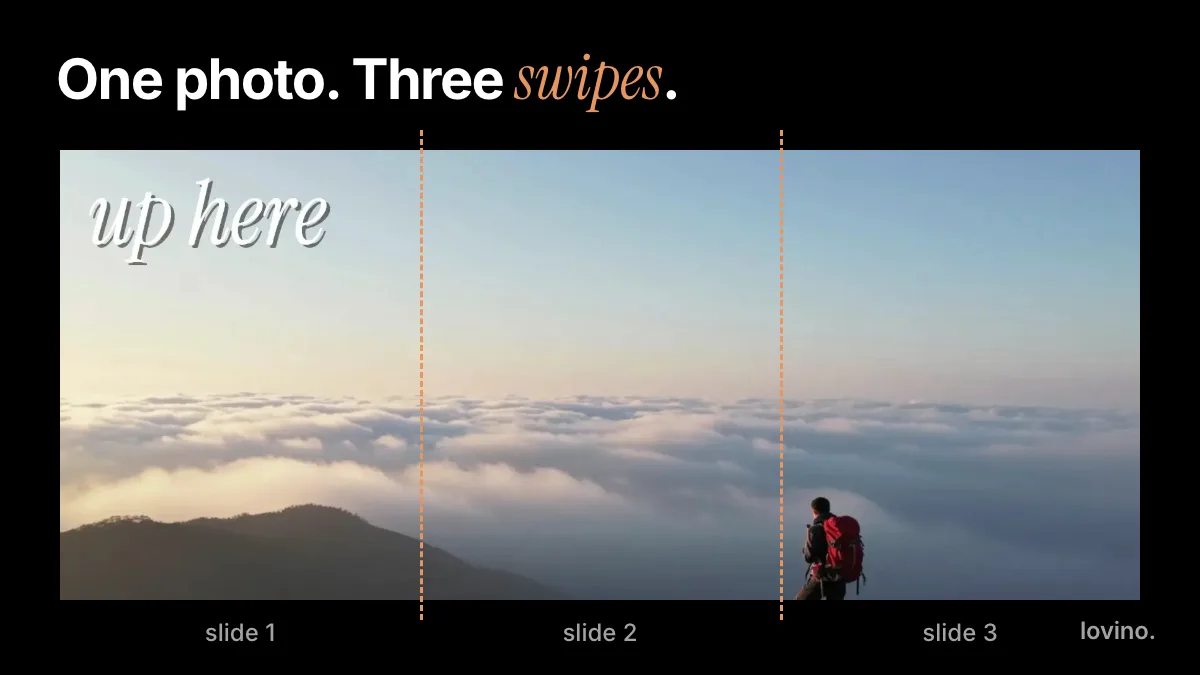
A seamless panorama carousel is one wide image cut into equal slides, so it reads as a single picture as people swipe. Make the wide image first (1080 pixels times the slide count, by 1350 tall), cut it every 1080 pixels, and upload the slices in order. The whole trick is the math and the seam.
Instagram lets you add up to 20 photos and videos to a post (Instagram Help Center), but a panorama works best with two to four. This guide covers the sizes, the AI steps, and the rules for what may cross a cut.
How does a seamless panorama carousel work?
Slides sit edge to edge as you swipe, so a shape that crosses a cut line seems to carry on into the next slide. The eye follows it, and the swipe starts to feel like a camera pan.

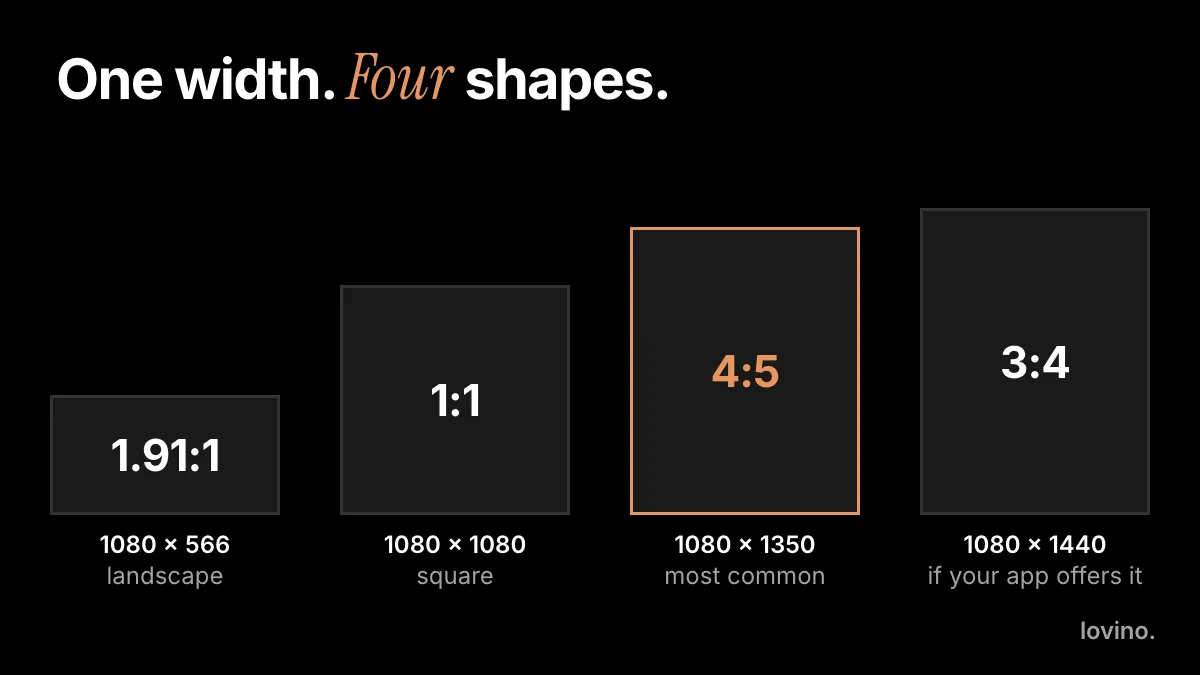
Each slide is still an ordinary 4:5 slide at 1080 × 1350 pixels. There is no panorama setting to switch on. You prepare the slices, and the order does the rest. If you are new to slide sizes, read the Instagram carousel size guide first.
What size should a panorama carousel be?
Multiply the slide width by the number of slides, and keep the height at 1350.
| Slides | Canvas | Ratio | Cut at (pixels from the left) |
|---|---|---|---|
| 2 | 2160 × 1350 | 1.6:1 | 1080 |
| 3 | 3240 × 1350 | 2.4:1 | 1080, 2160 |
| 4 | 4320 × 1350 | 3.2:1 | 1080, 2160, 3240 |
| 5 | 5400 × 1350 | 4:1 | 1080, 2160, 3240, 4320 |
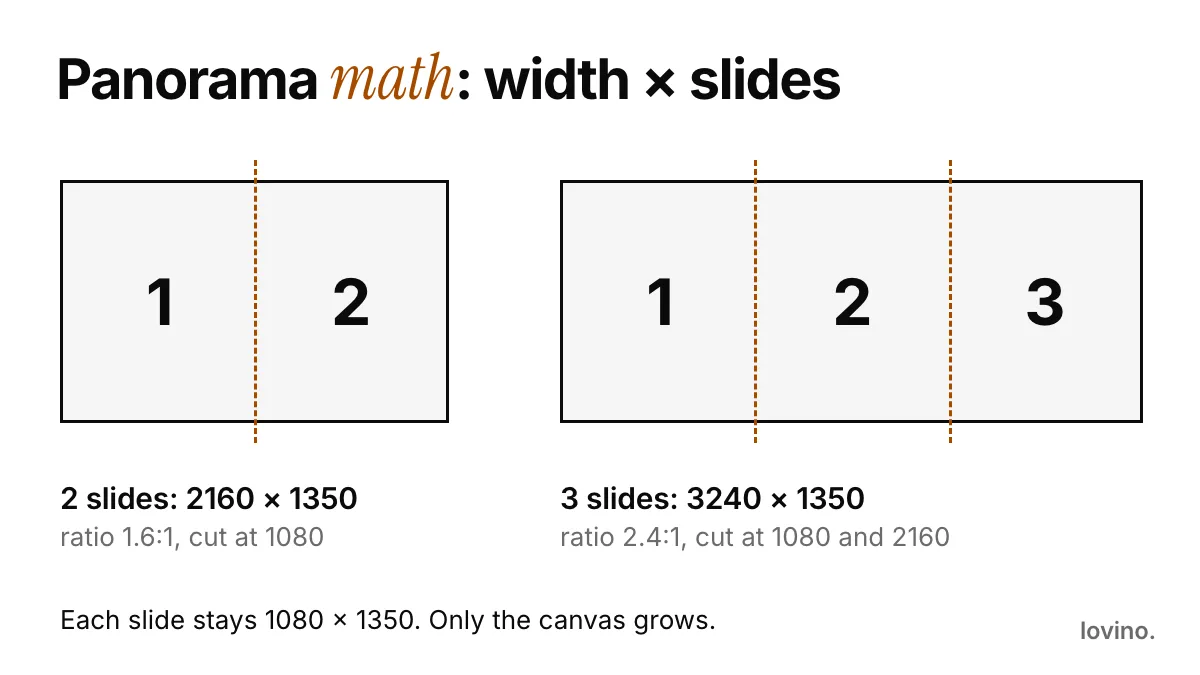
Every extra slide is more width the scene has to keep coherent and more pixels you need. Start with two or three.
How do you make a seamless panorama carousel with AI?
Lovino makes the wide scene; you cut it in any editor that crops to exact pixel sizes. Signup is required to generate, free outputs carry a watermark, and paid plans remove it.
- Pick the slide count. Say three. Your canvas is 3240 × 1350.
- Generate a wide scene in Studio. Choose Image and set the ratio to 16:9, the widest option in the Studio picker. Describe one continuous scene with a long horizontal feature and plain space above and below, because a 3-slide canvas is wider than 16:9 and you will trim the top and bottom.
- Check the pixels. If the download is narrower than your canvas, run it through the AI image upscaler before you cut. The Upscaler uses paid credits.
- Crop to the canvas. Set the canvas to slides × 1080 by 1350 and place the image so the important shapes sit where you want them.
- Cut at every 1080 pixels. Export the slices as 1080 × 1350 files named 1, 2, 3 in order.
- Upload in order and swipe through the preview. If a seam looks off, check that every slice is exactly 1080 pixels wide and that you did not resize between cutting and posting.
A prompt to start from for step 2:
A wide coastal road at golden hour, a pale-blue vintage car driving left to right,
the sea across the top, one long horizon line, empty sky and empty foreground.
One continuous panoramic scene, no text, no people.
Why ask for empty sky and foreground? Studio's widest ratio is 16:9, about 1.78:1. A two-slide canvas (1.6:1) is close, so you trim a little from the sides. A three-slide canvas (2.4:1) is wider than 16:9, so you keep the full width and trim the top and bottom instead. A 1920-pixel-wide image cropped that way is 1920 × 800, so it needs an upscale to reach 3240 × 1350.
Where should the seam go?
A seam is the line where one slide ends and the next begins. Treat it like a fold in a page.
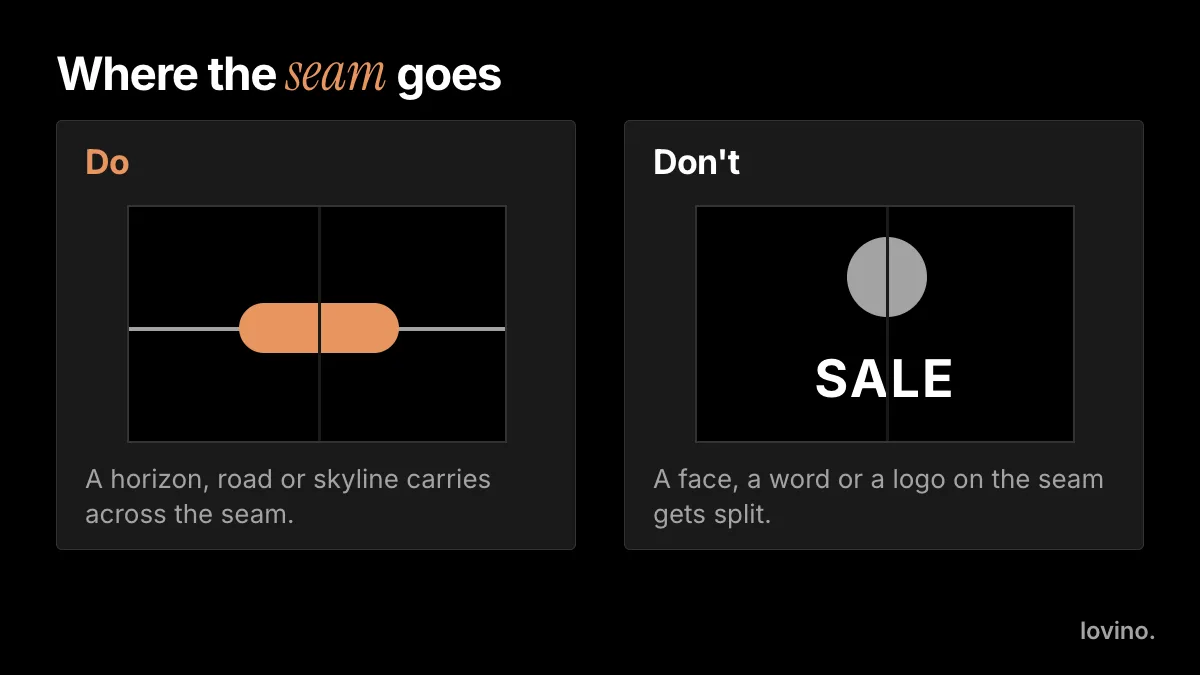
- Let a long line cross. A horizon, a road, a skyline or a table edge carries across and pulls the swipe.
- Keep faces off the seam. A face split in half is the quickest way to break the illusion. A rule of thumb is to keep faces, words and logos at least 100 pixels from any cut.
- Put the story in the middle of a slide. The subject you want people to notice should sit near a slide's centre, with the long line crossing the cut.
- Plant a half-visible shape. An object (never a face or a word) that starts at the right edge of a slide gives people a reason to swipe.
Which scenes make the best panoramas?
Choose scenes with a long, simple structure:
- Landscapes and seascapes. A horizon does the work for you.
- Roads, bridges and rails. They lead the eye from slide to slide.
- City skylines. Evenly spaced shapes hide the cuts well.
- Flat lays and long tables. A row of objects across three slides reads as one arrangement.
Crowds, rooms full of people and busy interiors are harder, because faces land on seams. You can also start from a real wide photo, such as a phone panorama, and use the same canvas and cut steps. Just make sure it has enough pixels for the width you need.
How do you make slide 1 work on its own?
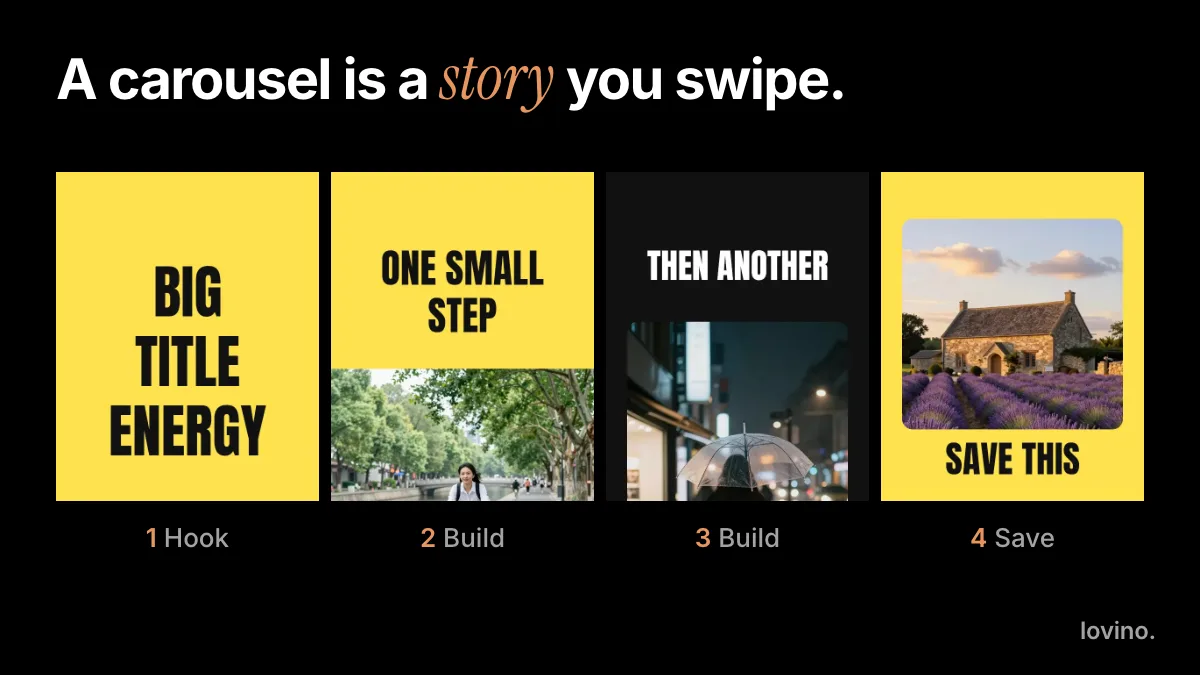
Slide 1 is the tile in your grid and the first thing in the feed. The Instagram Help Center says both your feed and your profile show the first photo or video from a post, so slide 1 has to stand alone. One way is to make slide 1 a normal cover and let only the later slides join into a panorama.
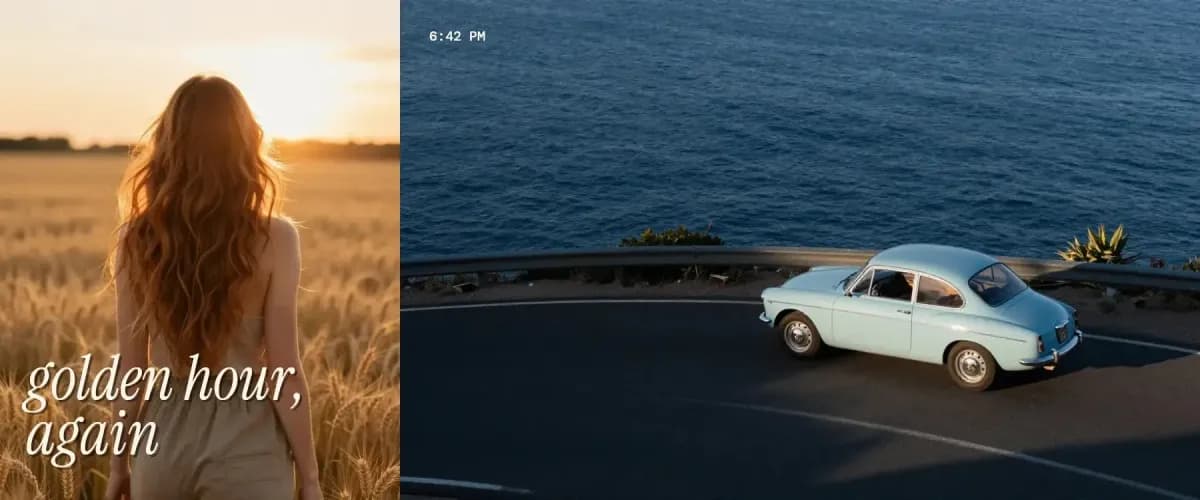
In the strip above, slide 1 is a self-contained cover, and the road and the sea run across slides 2 and 3. The car's nose pokes over the cut, which gives the eye a reason to swipe, while the words stay well clear of any seam.
What should you never fake in a panorama?
AI can build a beautiful wide scene. Do not present it as a real place.
- Real locations. If you run a hotel, a rental or a venue, do not post an AI-made vista as a photo of your property or its view. Use AI for backgrounds, mood or concept art, and say so.
- Real products and results. A product must still look like the real product.
- Labels. Mark AI-made imagery where the platform or your market expects it. See AI content disclosure on social media, and for travel content, the ethics of AI travel photography.
If you start from your own photo, remember that images you upload to Lovino are processed by third-party AI providers, so upload only photos you may share.
What are the most common panorama mistakes?
- Unequal slices. Every slice must be exactly 1080 pixels wide. One pixel off creates a visible jump.
- Slices out of order. Number the files before you upload.
- A seam through a face or a word. Re-crop so it sits inside one slide.
- Low resolution. A 3240-pixel canvas needs a source at least that wide, or an upscale.
- No cover. If slide 1 only makes sense next to slide 2, the grid tile will look like a fragment.
For more picture ideas to try on Instagram, see AI photo ideas for Instagram. For the full planning workflow, how to make an Instagram carousel covers the story, the checks and the tools.
Make your first panorama
Pick two or three slides, write one continuous scene with plain space above and below, and generate it wide. Open the AI image generator to start.
Questions, answered.
What size should a panorama carousel be for Instagram?
Keep each slide at 1080 × 1350 pixels (4:5) and multiply the width by the number of slides. Two slides need a 2160 × 1350 canvas, three need 3240 × 1350 and four need 4320 × 1350. Cut at every 1080 pixels.
How do I split an image into slides for a panorama?
Use any editor that crops to exact pixel sizes. Set the canvas to slides times 1080 by 1350, place the image, and export each 1080-pixel-wide section as its own file, numbered in order. Upload them in that order.
Can AI make the panorama image?
Yes. Generate one wide scene in Lovino's Studio at 16:9, describe one continuous scene with plain space above and below, then crop to your canvas and cut. Upscale first if the image is narrower than the canvas width. Do not present an AI scene as a real place.
How many slides should a panorama carousel have?
Two to four is the easiest range. Instagram allows up to 20 photos and videos per post, but a longer panorama needs more width, more pixels and a scene that stays coherent across every cut.
Why does my panorama seam look off?
Most often a slice is not exactly 1080 pixels wide, the files are out of order, or the image was resized after cutting. Re-cut from the original canvas at exact widths and check the order in the preview before you post.